Welcome to our comprehensive guide on understanding the asphalt cost per square metre in New Zealand. Whether you’re planning a driveway, parking lot, or any other paved surface, knowing the factors that influence pricing is crucial for budgeting effectively. In this post, we’ll delve into the average costs, explore what drives those prices, and share tips to ensure you get the best value for your investment. By the end, you’ll have a clear picture of what to expect and how to make informed decisions for your asphalt paving project.
On average, the cost of asphalt per square metre in New Zealand ranges from $50 to $120, depending on factors such as the type of asphalt, project size, site preparation, and regional variations. Hot mix asphalt is the most common choice for driveways and parking lots due to its durability, while recycled asphalt offers a more budget-friendly option. To get the best value, consider multiple quotes and assess the specific needs of your project.
Table of Contents
Overview Of Asphalt Costs In New Zealand
Asphalt is a popular choice for paving in New Zealand due to its durability, smooth finish, and relatively quick installation time. Whether you’re looking to resurface a driveway, create a parking lot, or pave a commercial area, understanding the costs involved is crucial for budgeting and planning. Below, we provide an overview of the general cost range for asphalt in New Zealand, along with a comparison to other common paving materials.
General Cost Range for Asphalt in New Zealand
The cost of asphalt paving in New Zealand can vary depending on several factors, including the size of the area, the complexity of the project, and the specific region. On average, you can expect to pay between NZD $45 to $110 per square meter for asphalt installation. This price typically includes preparation, materials, and labor, but it’s important to get a detailed quote from your contractor to understand what’s included.
Regional variations also play a significant role in the overall cost. For instance, Auckland tends to have higher prices due to the increased cost of living and demand for services, with rates often closer to the upper end of the range. In contrast, Wellington and Christchurch may offer more competitive pricing, although this can still fluctuate based on specific local market conditions and availability of materials. Rural areas may have additional costs due to transportation and logistics, so it’s essential to consider these factors when planning your project.
Comparison with Other Paving Materials
When deciding on paving materials, cost is a critical consideration, but it’s also essential to weigh factors like longevity, maintenance, and aesthetic appeal. Here’s how asphalt stacks up against some other popular options:
- Concrete: Typically, concrete is more expensive than asphalt, ranging from NZD $70 to $150 per square meter. However, concrete has a longer lifespan, often lasting up to 30-40 years with proper maintenance. Asphalt, while less expensive initially, may require more frequent repairs or resurfacing over time, usually lasting 15-20 years.
- Gravel: Gravel is a much cheaper alternative, with costs ranging from NZD $25 to $50 per square meter. However, it requires regular upkeep, such as regrading and adding more gravel over time. It also lacks the smooth finish and durability of asphalt, making it less suitable for high-traffic areas.
- Paving Stones: Paving stones, or pavers, are a premium option with costs between NZD $90 to $200 per square meter. While they offer a visually appealing finish and are highly durable, the initial cost is significantly higher than asphalt. Paving stones also allow for easy repairs, as individual stones can be replaced without disturbing the entire surface.
In summary, asphalt provides a balanced option in terms of cost, durability, and maintenance. It’s more affordable than concrete and paving stones while offering better longevity and a smoother finish than gravel. Your choice will ultimately depend on your specific needs, budget, and the look you want to achieve for your paved area.
Factors Affecting Asphalt Cost Per Square Metre
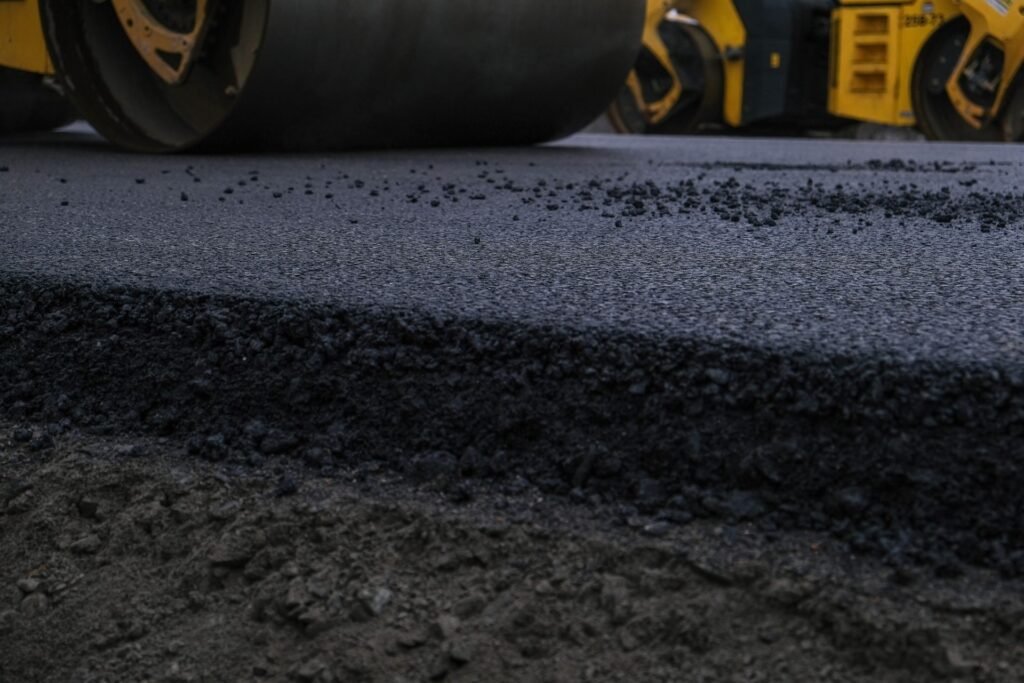
When planning an asphalt paving project, it’s crucial to grasp the various factors that influence the cost per square meter. The cost isn’t just about the raw material; multiple elements, from the type of asphalt to the location of the site, play a significant role. Let’s break down these factors to provide a clear understanding of how each one impacts your budget.
Type of Asphalt: Hot Mix, Cold Mix, and Recycled Asphalt
One of the first considerations is the type of asphalt used. Each type has distinct characteristics and applications, which directly affect the cost:
- Hot Mix Asphalt (HMA): This is the most common type used for roadways and driveways. It’s created by heating the asphalt and aggregate materials to high temperatures, making it durable and long-lasting. Due to its superior quality, HMA is often more expensive, but it offers greater longevity and is ideal for heavy-traffic areas.
- Cold Mix Asphalt: Unlike HMA, cold mix asphalt does not require heating. It’s typically used for patching and smaller repairs rather than large paving projects. While it’s less expensive upfront, it’s not as durable as hot mix, leading to more frequent maintenance costs.
- Recycled Asphalt: An eco-friendly option, recycled asphalt reuses old pavement materials. This reduces waste and costs, making it an attractive choice for budget-conscious projects. However, its performance might not match that of new asphalt, particularly in high-stress areas.
Choosing the right type of asphalt is a balance between cost, performance, and the specific requirements of your project.
Thickness and Layers: How They Impact Cost
The thickness of the asphalt layer is a significant factor in determining the overall cost. Typically, a thicker layer provides better durability and longevity, especially in areas subjected to heavy traffic or harsh weather conditions. However, thicker layers require more material and labor, increasing the total cost per square meter.
Moreover, the need for multiple layers—such as a base layer and a top layer—can further drive up costs. The base layer provides structural support, while the top layer offers a smooth finish. Depending on the project’s demands, the number and thickness of these layers can vary, directly impacting the overall price.
Preparation and Site Conditions: The Foundation of Cost
Before laying asphalt, proper site preparation is crucial. The extent of preparation needed can significantly influence costs. This includes tasks such as:
- Excavation: Removing existing materials or leveling the ground can be labor-intensive and time-consuming.
- Grading: Ensuring the site has the correct slope for water drainage is essential to prevent future damage to the asphalt.
- Drainage: Installing appropriate drainage systems can add to the preparation cost but is necessary to maintain the pavement’s integrity.
Additionally, existing site conditions like soil type and slope can also affect costs. For instance, sites with poor soil conditions may require additional stabilization measures, and steep slopes might need more complex grading solutions.
Location and Accessibility: Urban vs. Rural Costs
The geographical location of your project plays a vital role in determining the cost per square meter. Urban areas often have higher prices due to increased demand and the higher cost of living. Additionally, accessibility is a key factor; sites that are difficult to access may incur extra charges for transporting materials and equipment.
In contrast, rural areas might offer lower costs, but transportation expenses could be higher if the site is far from suppliers or contractors. Balancing these aspects is essential for accurate budgeting.
Labor and Installation Costs: The Human Element
Labor costs are another significant component of the overall expense. In New Zealand, for example, labor rates can vary based on the region, the complexity of the job, and the contractor’s experience. Skilled labor is crucial for ensuring the asphalt is laid correctly and meets all standards. Cutting corners on labor can lead to poor results and higher long-term maintenance costs.
The quality and expertise of the installation team are therefore critical factors. While opting for cheaper labor may seem cost-effective initially, it can lead to problems down the line that are far more expensive to fix.
Additional Features: Customization Comes at a Price
Lastly, additional features or customizations can add to the cost of your asphalt project. These might include:
- Decorative Finishes: Adding a unique design or texture to the surface can enhance aesthetics but also increase the cost.
- Edging: Installing durable edges, such as concrete curbs or decorative borders, can add both functionality and visual appeal, though at an additional cost.
- Seal Coating: Applying a protective sealant helps extend the life of the asphalt by protecting it from weather, oil spills, and UV rays. While it’s an extra cost, it’s often a wise investment for long-term durability.
When estimating the cost of asphalt per square meter, it’s essential to consider all the factors outlined above. Each one—from the type of asphalt to site conditions and labor costs—plays a crucial role in determining the final price. By understanding these variables, you can better plan your budget and make informed decisions that align with your project’s needs and financial goals.

Breakdown Of Asphalt Installation Costs
When planning for an asphalt installation project, it’s essential to understand the various cost factors involved. Below is a comprehensive breakdown of the primary components that influence the overall cost of asphalt installation in New Zealand, helping you make informed decisions.
Material Costs
One of the most significant portions of your asphalt installation budget will be dedicated to materials. The primary material is, of course, the asphalt mix, which typically comprises bitumen, aggregate, sand, and fillers. The price of the asphalt mix can vary based on the quality, grade, and type required for your project. For example, a standard asphalt mix used for residential driveways will generally be less expensive than a high-grade mix designed for heavy-duty commercial applications.
In addition to the asphalt mix, other materials needed include base and sub-base layers, such as crushed stone or gravel. These layers provide the necessary stability and drainage, ensuring the longevity of your asphalt surface. The cost of these materials can fluctuate depending on the site’s existing conditions and the depth required for a stable foundation.
Labor Costs
Labor is another critical cost component, often accounting for a significant portion of the total project expense. In New Zealand, labor costs for asphalt installation are typically calculated based on hourly rates, which can range depending on the skill level of the workers and the complexity of the project. For instance, more intricate projects like curved driveways or areas with difficult access may require specialized labor, which can increase the overall cost.
The timeframe for completing an asphalt installation project also plays a role in labor costs. A typical residential driveway might take a couple of days to complete, whereas larger commercial projects could extend over several weeks. It’s essential to account for this when estimating labor costs, as delays or unforeseen complications can lead to increased expenses.
Equipment and Machinery Costs
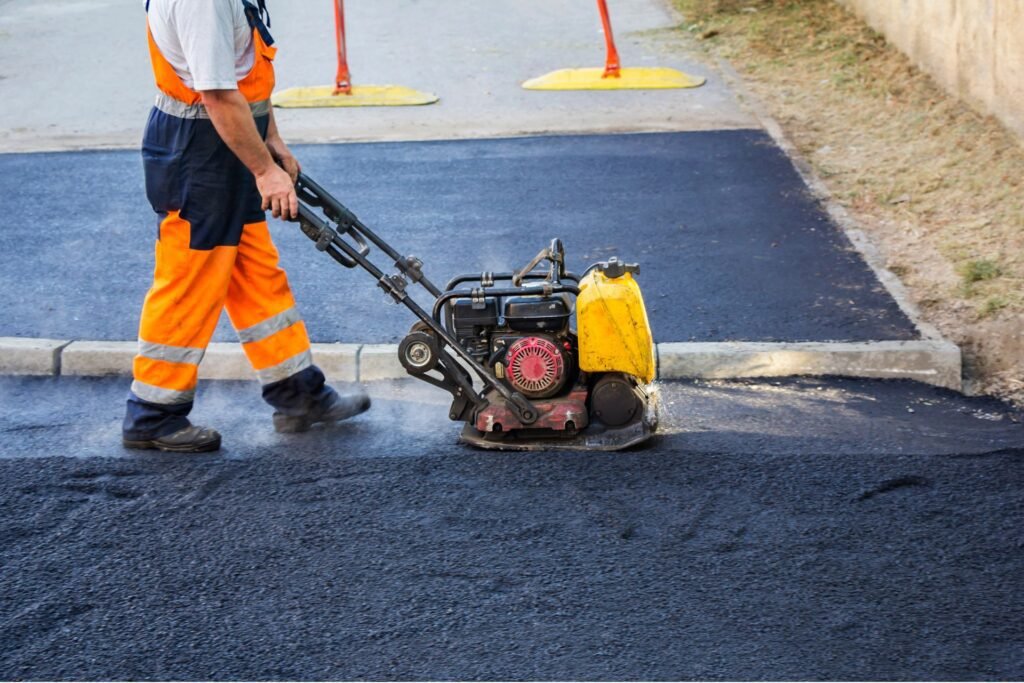
The machinery required for asphalt installation is both specialized and expensive, which is why this category also represents a significant portion of the overall cost. Essential equipment includes rollers, pavers, compactors, and trucks for transporting materials. Depending on the scale of your project, you might also need additional machinery, such as milling machines or asphalt recyclers.
For smaller projects, contractors may factor in the rental cost of machinery, while larger companies typically own their equipment. The cost for this machinery is often built into the contractor’s overall pricing, but it’s useful to understand that the scale and type of project will influence these costs.
Permit and Compliance Costs
Finally, don’t overlook permit and compliance costs. Depending on your project’s location and scope, you may need to obtain specific permits or meet local compliance regulations. This is particularly relevant for large commercial projects or installations near environmentally sensitive areas. The cost for these permits can vary widely, depending on the jurisdiction and the complexity of the application process. Failing to secure the necessary permits can result in fines or project delays, adding to your overall costs.
In summary, understanding these four key cost components—materials, labor, equipment, and permits—will help you better estimate the total cost of your asphalt installation project in New Zealand. Proper planning and budgeting for these factors will ensure that your project runs smoothly and stays within your financial expectations.
Hidden Costs And Potential Surprises
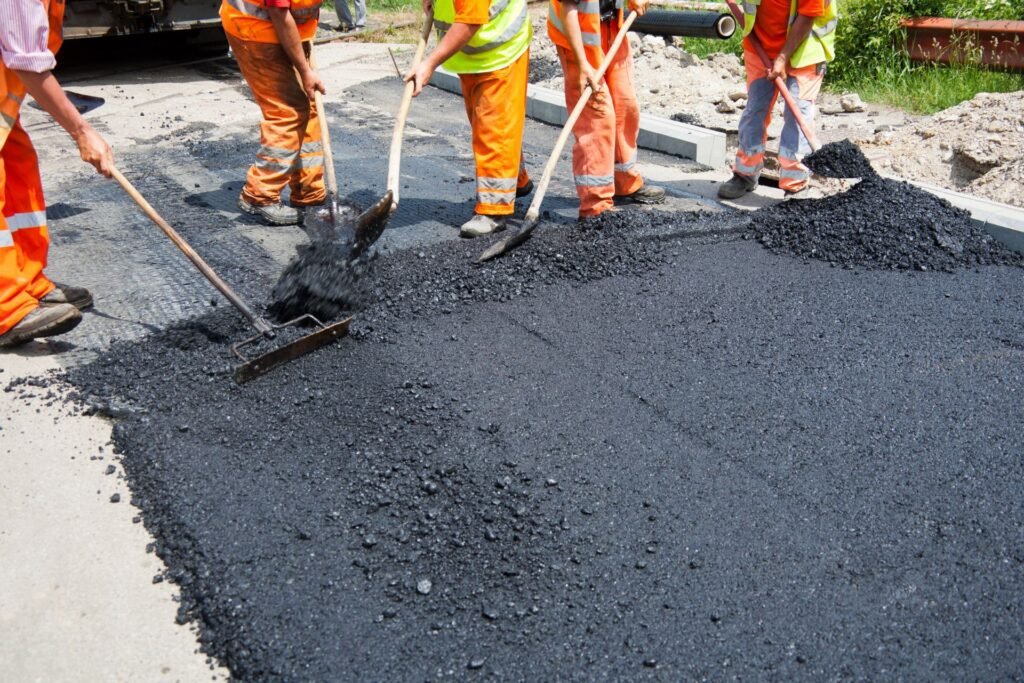
When planning an asphalt installation, it’s crucial to look beyond the initial quote. There are several hidden costs and potential surprises that can creep up unexpectedly. Being aware of these can help you budget more accurately and avoid unpleasant financial shocks down the road.
Unexpected Ground Conditions
One of the biggest variables in any paving project is the condition of the ground beneath the surface. Unfortunately, not every site has ideal conditions. You might encounter soft spots, old debris, or even contaminated soil that needs to be removed before the asphalt can be laid. Addressing these issues often requires additional excavation, backfilling, and compaction—none of which come cheap. For instance, if soft spots are found, contractors may need to dig deeper and bring in more materials to stabilize the area, leading to higher labor and material costs.
These ground issues aren’t always apparent until work begins, meaning they can be a surprise line item on your final invoice. To mitigate this risk, it’s wise to have a thorough site inspection before starting your project. While this can add to upfront costs, it may save you from larger expenses later on.
Weather Delays
New Zealand’s climate is famously unpredictable, and that can wreak havoc on your asphalt installation schedule. Rain, extreme temperatures, and even unexpected frost can delay the project, pushing your timeline out and potentially increasing labor costs. For instance, asphalt needs to be laid on a dry surface, and rain can turn a straightforward job into a waiting game. Every day of delay may mean additional costs, especially if equipment or labor has to be rescheduled.
Moreover, temperature fluctuations can also impact the quality of your asphalt. If it’s too cold, the asphalt might not compact properly, leading to a weaker surface that could fail prematurely. In some cases, contractors may need to halt work until conditions improve, which can add to both the timeline and the budget.
Maintenance Costs
Finally, it’s essential to consider the ongoing maintenance costs that come with asphalt surfaces. While asphalt is durable, it isn’t maintenance-free. Over time, exposure to the elements, traffic, and even UV rays can cause cracks, fading, and surface wear. Regular maintenance is key to extending the life of your asphalt, but it does come at a price.
Seal coating is one common maintenance task that helps protect the asphalt from water damage and UV degradation. While it’s relatively inexpensive, it needs to be done every few years to be effective. Crack repairs are another routine expense; addressing small cracks early can prevent them from turning into larger, more costly issues. Ignoring these minor repairs can lead to significant damage, such as potholes, which require more extensive and expensive fixes.
By budgeting for these hidden costs and potential surprises, you can ensure your asphalt installation project stays on track both financially and timeline-wise. It’s always better to plan for the unexpected and be pleasantly surprised if everything goes smoothly, rather than be caught off guard by unforeseen expenses.

Cost-Saving Tips For Asphalt Paving
When it comes to asphalt paving, everyone wants a smooth, durable surface without breaking the bank. Here are some practical tips to help you save money on your project while still ensuring quality results.
Choose the Right Time of Year
Timing is everything, especially when it comes to asphalt paving. One of the best ways to save on your project is by scheduling it during the off-season. Typically, the peak season for asphalt paving runs from late spring to early fall. During these months, contractors are in high demand, and prices tend to reflect that. By planning your project for the late fall or early spring, you may be able to negotiate a better rate. Contractors are often more willing to offer discounts during slower periods when they have fewer jobs lined up. Plus, cooler temperatures can also help the asphalt set properly, leading to a longer-lasting finish.
Opt for Recycled Asphalt
Another smart way to cut costs is by opting for recycled asphalt. Not only is it a more affordable option, but it’s also environmentally friendly. Recycled asphalt is made from old asphalt that has been crushed and reprocessed. It offers similar durability and longevity as new asphalt, but at a fraction of the cost. By choosing recycled materials, you’re reducing the demand for new resources, which helps lower the overall cost of your project. It’s a win-win for both your wallet and the planet.
Get Multiple Quotes
Don’t settle for the first quote you receive. One of the most effective ways to ensure you’re getting the best deal is by shopping around. Reach out to several contractors in your area and request detailed quotes. Be sure to compare not just the price, but also what’s included in the estimate. Some contractors may offer a lower initial price, but charge extra for essential services like grading or drainage. By comparing multiple quotes, you can find a contractor who offers the best value for your budget without sacrificing quality.
DIY Options
If you’re handy and have some experience with home improvement projects, there are certain aspects of asphalt paving that you could potentially do yourself to save money. For example, you might consider handling the site preparation, such as clearing and grading, on your own. However, it’s important to approach DIY with caution. Paving requires specialized equipment and expertise to ensure a smooth and durable finish. Mistakes can be costly and difficult to fix, potentially leading to more expenses in the long run. If you’re not confident in your abilities, it’s usually best to leave the heavy lifting to the professionals.
By following these cost-saving tips, you can pave a beautiful, long-lasting surface without stretching your budget too thin. Remember, the goal is to balance cost with quality, ensuring you get the most value out of your investment.

Case Studies And Real-Life Examples
When it comes to asphalt installation, real-life examples offer invaluable insights that go beyond just numbers and specifications. Let’s take a closer look at three case studies—each from different regions of New Zealand—that highlight the practical aspects of asphalt installation, including project scope, costs, and the lessons learned from each unique scenario.
Case Study 1: Residential Driveway in Auckland
Project Scope
A family in Auckland needed to replace their aging concrete driveway with a more durable asphalt solution. The driveway was approximately 50 square meters and had several cracks and uneven areas. The project involved removing the old concrete, grading the surface, and installing new asphalt.
Total Cost
The total cost for this project was approximately NZD 8,000. This price included the removal of the old driveway, site preparation, and the installation of high-quality asphalt designed to last for at least 20 years.
Lessons Learned
This project underscored the importance of thorough site preparation. Despite Auckland’s generally mild climate, the underlying soil had areas of poor drainage, which could have led to future problems. By addressing these drainage issues during the preparation phase, the contractors ensured a longer-lasting driveway. The homeowners also learned that investing in high-quality materials upfront can save on future maintenance costs.
Case Study 2: Commercial Parking Lot in Wellington
Project Scope
A small business in Wellington needed to upgrade their parking lot, which serves about 20 vehicles daily. The existing gravel lot was causing issues for customers, especially during rainy weather, when it became muddy and difficult to navigate. The project required grading, drainage installation, and laying asphalt over an area of 300 square meters.
Total Cost
The total cost for the parking lot upgrade was around NZD 35,000. This included the installation of proper drainage systems to handle Wellington’s frequent rain, as well as high-quality asphalt with added sealant for extra durability.
Lessons Learned
In this case, the key takeaway was the importance of proper drainage. Wellington’s high rainfall meant that any pooling water could severely damage the asphalt surface if not properly managed. By investing in a robust drainage system, the business was able to ensure a longer lifespan for the parking lot, reduce maintenance costs, and provide a better experience for customers.
Case Study 3: Rural Property Driveway in Canterbury
Project Scope
A rural property owner in Canterbury needed a new driveway to replace a deteriorating gravel path. The new asphalt driveway covered about 100 square meters and was intended to handle the weight of farm equipment and vehicles.
Total Cost
The total cost for this rural driveway was approximately NZD 15,000. This included site preparation, the installation of a gravel base for extra support, and the application of a thicker asphalt layer than would be typical for residential driveways.
Lessons Learned
This project highlighted the need to consider the specific requirements of rural properties. The heavier vehicles used on the property meant that the asphalt needed to be thicker and more resilient. The property owner also learned the importance of regular maintenance, such as sealing cracks, to prevent water damage and extend the driveway’s lifespan.
These case studies from Auckland, Wellington, and Canterbury illustrate that while asphalt installation may seem straightforward, each project has its own unique challenges and considerations. By understanding the scope, costs, and lessons learned from these examples, homeowners and businesses can make more informed decisions about their own asphalt projects. Whether it’s ensuring proper drainage in Wellington or accounting for the weight of farm vehicles in Canterbury, each project demonstrates that careful planning and quality materials are key to a successful, long-lasting asphalt installation.
Maximizing Your Investment: Longevity And Value
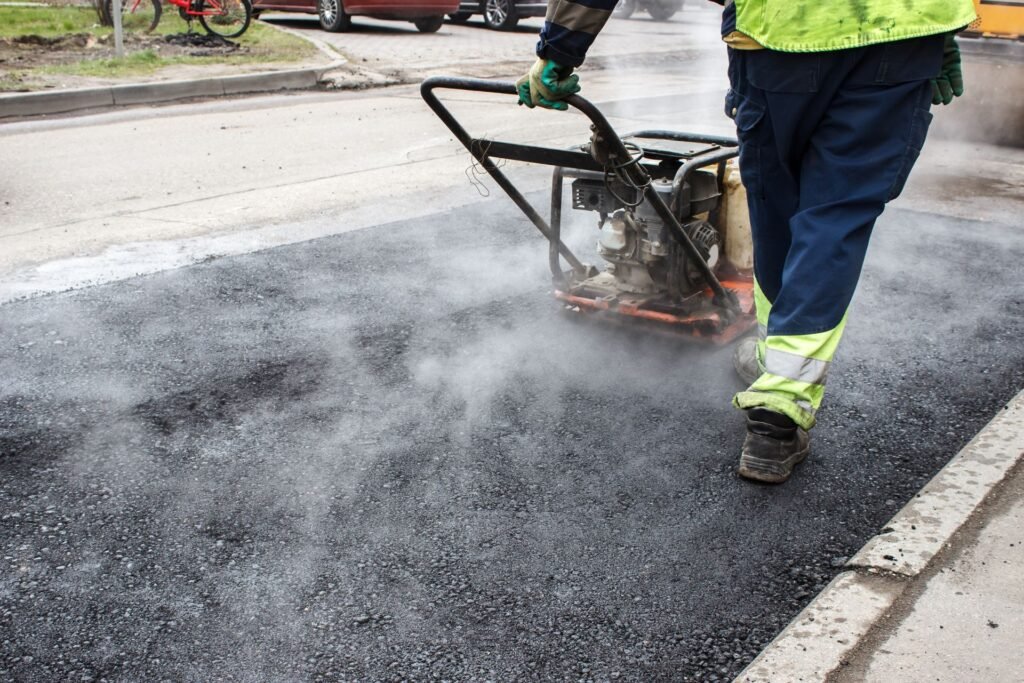
When you invest in asphalt installation, you’re making a decision that affects your property for years to come. Ensuring that you get the most out of this investment requires a bit of foresight and care. By focusing on proper maintenance, enhancing curb appeal, and considering sustainable options, you can significantly extend the lifespan of your asphalt surface while also boosting your property’s value.
Proper Maintenance: Prolonging the Life of Your Asphalt Surface
The longevity of your asphalt surface hinges largely on how well it’s maintained. Regular upkeep not only helps to keep the surface looking fresh but also prevents minor issues from snowballing into costly repairs. Here are some essential maintenance tips:
- Sealcoating: Applying a protective sealcoat every 2-3 years shields the asphalt from UV rays, water, and chemicals. This layer acts as a barrier against the elements, preventing cracks and potholes from forming.
- Crack Filling: Small cracks can quickly expand, especially in regions with extreme temperatures. Filling cracks promptly prevents water from seeping in and causing further damage.
- Regular Cleaning: Removing debris, leaves, and dirt prevents them from breaking down and deteriorating the surface. Additionally, cleaning up oil stains and other spills reduces the risk of the asphalt becoming weakened or stained.
- Proper Drainage: Ensure that water drains off your asphalt surface properly. Standing water can lead to potholes and other damage, so keeping your drainage system clear and functional is key.
By following these maintenance steps, you can significantly extend the life of your asphalt surface, thereby reducing long-term repair costs and keeping your driveway or pavement in excellent condition.
Enhancing Curb Appeal: Boosting Property Value with Quality Asphalt
A well-installed asphalt driveway or walkway is more than just functional—it’s a crucial element of your property’s curb appeal. First impressions matter, and a sleek, smooth asphalt surface can greatly enhance the overall look of your home or business. This not only makes your property more attractive but also can increase its value.
- Aesthetic Appeal: A freshly installed asphalt driveway offers a clean, polished appearance that complements various architectural styles. Its dark color provides a striking contrast to green lawns and landscaping, giving your property a well-maintained and appealing look.
- Durability: Asphalt’s durability means it will maintain its attractive appearance over time, withstanding weather conditions and heavy traffic without significant deterioration. This longevity adds to the overall value of your property, making it a wise investment.
- Market Value: If you’re considering selling your property, an attractive and well-maintained driveway can be a significant selling point. Potential buyers often see a pristine asphalt surface as a sign of overall property care, which can lead to higher offers.
By investing in a quality asphalt installation and maintaining it well, you’re not just improving your property’s appearance—you’re also enhancing its market value.
Sustainability Considerations: Eco-Friendly Asphalt Options for Long-Term Value
In today’s environmentally-conscious world, sustainable choices are more important than ever. Fortunately, asphalt is a material that can align with these values. There are eco-friendly asphalt options that offer long-term benefits both for the environment and your wallet.
- Recycled Asphalt: Asphalt is one of the most recycled materials globally. Using recycled asphalt for your project reduces the demand for new raw materials and decreases waste. This sustainable choice doesn’t compromise on quality, as recycled asphalt can be just as durable and effective as new materials.
- Permeable Asphalt: For areas prone to heavy rainfall, permeable asphalt is an excellent eco-friendly option. This type of asphalt allows water to seep through the surface, reducing runoff and replenishing groundwater. This not only benefits the environment but also reduces the risk of flooding on your property.
- Cool Pavement Technology: Cool pavements are designed to reflect more sunlight and absorb less heat than traditional asphalt, reducing the urban heat island effect. By keeping temperatures lower, these surfaces contribute to a more comfortable environment and reduce energy costs for nearby buildings.
Choosing sustainable asphalt options isn’t just about being environmentally responsible—it’s also about making a long-term investment in your property. These options can provide cost savings over time, while also aligning with growing preferences for eco-friendly solutions.
Maximizing your investment in asphalt installation is all about taking a holistic approach. With proper maintenance, you ensure that your surface lasts for years without requiring costly repairs. By focusing on curb appeal, you enhance your property’s value and attractiveness. And by considering sustainable asphalt options, you’re making a choice that benefits both the environment and your long-term financial health. In short, by prioritizing longevity, value, and sustainability, you can truly make the most of your asphalt investment.
FAQs: About Asphalt Cost Per Square Metre NZ
What is the average cost of asphalt per square metre in New Zealand?
On average, the cost of asphalt per square metre in New Zealand ranges from $50 to $120. This price varies depending on factors like the type of asphalt used, the size and complexity of the project, and regional differences.
What factors influence the cost of asphalt in NZ?
Several factors influence the cost, including the type of asphalt (hot mix, cold mix, or recycled), the thickness of the asphalt layer, site preparation, location and accessibility, labor costs, and additional features like decorative finishes or edging.
Is asphalt cheaper than concrete for paving?
Generally, asphalt is more affordable than concrete. Asphalt typically costs less to install and can be laid quicker, making it a popular choice for driveways and parking lots. However, concrete may last longer and require less maintenance, which could balance out the initial savings.
What are the different types of asphalt available in New Zealand?
The main types of asphalt used in New Zealand include hot mix asphalt, cold mix asphalt, and recycled asphalt. Hot mix is the most durable and common, while cold mix is used for minor repairs. Recycled asphalt is an eco-friendly and budget-friendly option.
How does the thickness of the asphalt affect the cost?
The thickness of the asphalt layer significantly affects the cost. Thicker layers are more durable and suitable for heavy traffic areas but require more material and labor, increasing the overall cost.
Are there any hidden costs in asphalt paving?
Yes, potential hidden costs include unexpected ground conditions, weather delays, permit fees, and ongoing maintenance costs such as seal coating and crack repairs. It’s important to plan for these contingencies to avoid surprises.
Can I save money by using recycled asphalt?
Yes, using recycled asphalt can reduce costs while being environmentally friendly. Recycled asphalt is typically cheaper than new asphalt and can still provide a durable surface when installed correctly.
How can I get the best value for my asphalt project?
To get the best value, obtain multiple quotes from reputable contractors, consider the timing of your project (off-season may offer discounts), and explore cost-saving options like recycled asphalt. Ensure that you choose the right type and thickness of asphalt for your needs to avoid future repairs.
What maintenance is required for asphalt surfaces?
Regular maintenance includes seal coating every 2-3 years, repairing cracks as they appear, and ensuring proper drainage to prevent water damage. Proper maintenance can extend the lifespan of your asphalt surface and save on long-term costs.
How long does asphalt paving last?
With proper installation and maintenance, asphalt paving can last 15 to 20 years or more. The lifespan depends on factors like the quality of the installation, traffic load, weather conditions, and regular maintenance practices.
Conclusion
In conclusion, understanding the key factors that impact asphalt costs per square meter in New Zealand is essential for making informed decisions. Variables like material quality, project size, site preparation, and location all play significant roles in determining the final price. While it might be tempting to focus solely on cost, it’s crucial to balance affordability with quality to ensure a durable and long-lasting result. Whether you’re planning a small driveway or a large commercial project, taking the time to research and consult with professionals can make a significant difference. For those ready to take the next step, consider getting a quote from a trusted local contractor, explore additional resources on asphalt paving, or speak directly with an expert for tailored advice.
About the Author:
Mike Veail is a recognized digital marketing expert with over 6 years of experience in helping tradespeople and small businesses thrive online. A former quantity surveyor, Mike combines deep industry knowledge with hands-on expertise in SEO and Google Ads. His marketing strategies are tailored to the specific needs of the trades sector, helping businesses increase visibility and generate more leads through proven, ethical methods.
Mike has successfully partnered with numerous companies, establishing a track record of delivering measurable results. His work has been featured across various platforms that showcase his expertise in lead generation and online marketing for the trades sector.
Learn more about Mike's experience and services at https://theleadguy.online or follow him on social media:

