Welcome to your go-to guide on concrete for pavers in NZ, whether you’re planning a new driveway, patio, or garden path, this post breaks down what you need to know before starting. Concrete pavers are a popular choice for Kiwi homeowners because they’re durable, cost-effective, and work well in New Zealand’s changing weather. But choosing the right type, understanding installation steps, and knowing what to expect in terms of cost and maintenance can make or break your project. In this guide, you’ll learn the pros and cons, how to prepare your base, what types of concrete are available, and how to make choices that suit your space, style, and budget.
Concrete is a durable, affordable, and weather-resistant choice for pavers in New Zealand. Ideal for driveways, patios, and walkways, it offers easy maintenance and a range of finishes. Choose from precast, poured, or decorative options to match your outdoor space and climate needs.
Table of Contents
Why Concrete Is A Top Choice For Pavers In NZ
When it comes to outdoor projects like driveways, patios, walkways, and garden paths, many New Zealand homeowners choose concrete pavers, and for good reason. Concrete consistently proves to be one of the most practical and long-lasting options available. Here’s why concrete continues to be a popular and smart choice across the country.
Durability And Strength
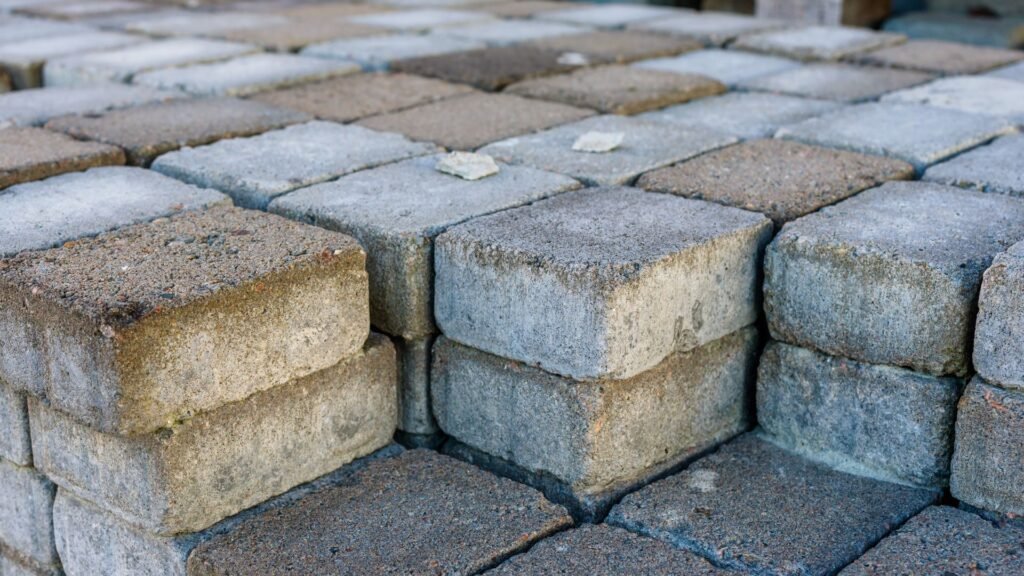
Concrete pavers are built to last. Whether you’re paving a patio or a driveway that supports heavy vehicles, concrete offers the strength to handle daily wear and tear without cracking under pressure. These pavers are engineered to withstand high loads, making them suitable for both residential and light commercial applications. In many NZ households, a well-installed concrete paver setup can last for decades with minimal maintenance.
Weather Resistance
New Zealand’s climate can be unpredictable, ranging from wet winters to salt-laden air in coastal areas. Concrete pavers hold up well in all conditions. They don’t shift with moisture like some natural materials, and they resist damage from freeze-thaw cycles common in colder parts of the South Island. With the right sealing, they can also repel water and reduce moss growth in wetter areas, helping to maintain both safety and appearance year-round.
Cost-Effectiveness
Concrete pavers are one of the most budget-friendly paving options in New Zealand. Not only are the upfront material costs lower than natural stone or brick, but installation is usually quicker and easier, which saves on labour. For homeowners working with tight budgets or large surface areas, concrete offers great value without sacrificing quality or appearance.
Local Availability
Concrete is widely available across New Zealand, which makes sourcing materials faster and cheaper. Many local suppliers manufacture concrete pavers in standard and custom shapes, helping reduce shipping costs and lead times. Plus, choosing local materials often supports regional businesses and ensures better consistency with your landscape’s environment.
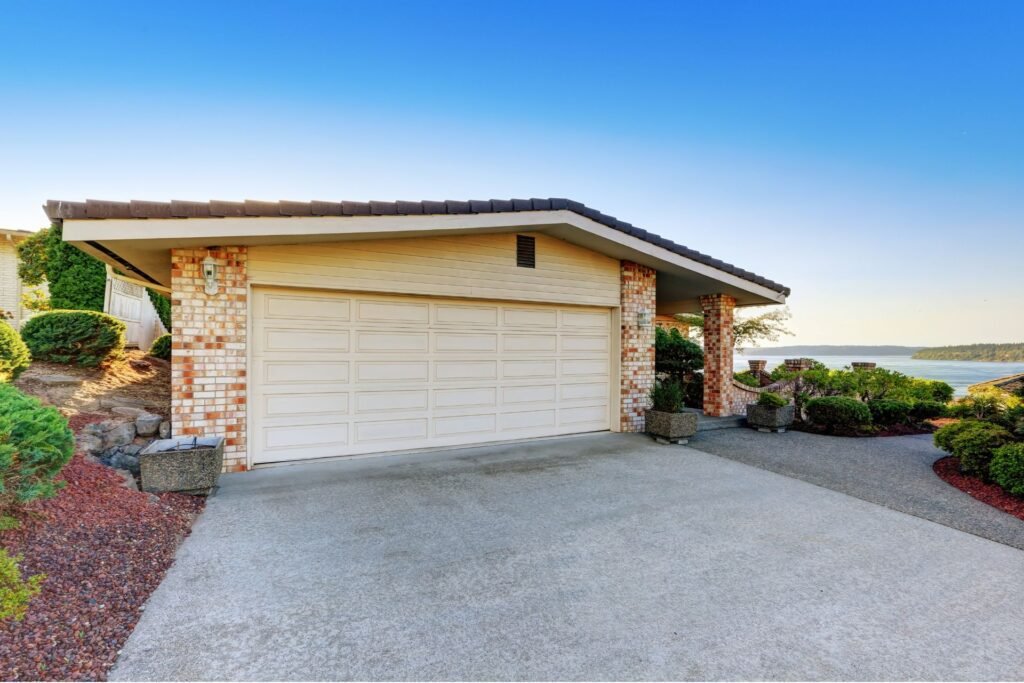
Easy To Match With Modern NZ Home Designs
Modern New Zealand homes often feature clean lines, neutral colours, and minimalist landscaping. Concrete pavers are available in a wide range of styles, sizes, and finishes, making it easy to match contemporary architectural trends. From smooth grey slabs to exposed aggregate or coloured finishes, you can find options that complement your home without overwhelming the space.
Comparison With Brick And Natural Stone Pavers
While concrete is an excellent all-rounder, it’s worth knowing how it compares to other popular paving materials:
Brick Pavers
- Offer a timeless, rustic look.
- More expensive and can chip over time.
- Limited colour and shape options.
- Require more maintenance to prevent weeds and shifting.
Natural Stone Pavers
- High-end, elegant appearance.
- Very durable but significantly more expensive.
- Often need sealing and professional installation.
- Less consistent in shape and texture, which can complicate layout.
Concrete strikes a balance between affordability, performance, and design flexibility, making it a reliable choice for most Kiwi households.
If you want a solution that works in both urban and rural New Zealand settings, concrete pavers deliver the strength, style, and value that modern outdoor spaces need.
Types Of Concrete Used For Paving
When planning a paving project, choosing the right type of concrete is a big decision. Each option offers different strengths, looks, and costs. The right choice depends on your space, the expected traffic, and how much time you want to spend on upkeep. Below is a breakdown of the most common types of concrete used for pavers in New Zealand, including which ones work best for patios, driveways, and walkways.
Precast Concrete Pavers
Precast concrete pavers are factory-made blocks available in various sizes, shapes, and textures. They’re cured before delivery, which makes them consistent in strength and appearance.
Benefits:
- Easy to install
- Uniform in size
- Wide range of colours and finishes
- Ideal for DIY projects
Walkways, patios, garden paths, and light-use driveways. They’re perfect for homeowners who want a clean, modern look without the hassle of pouring concrete on site.
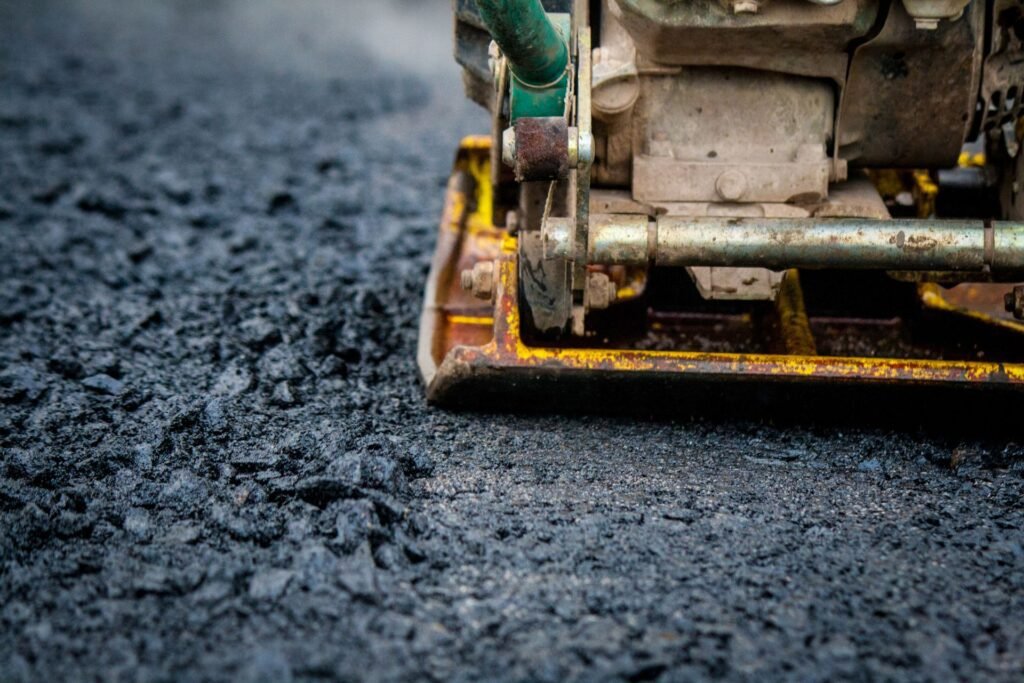
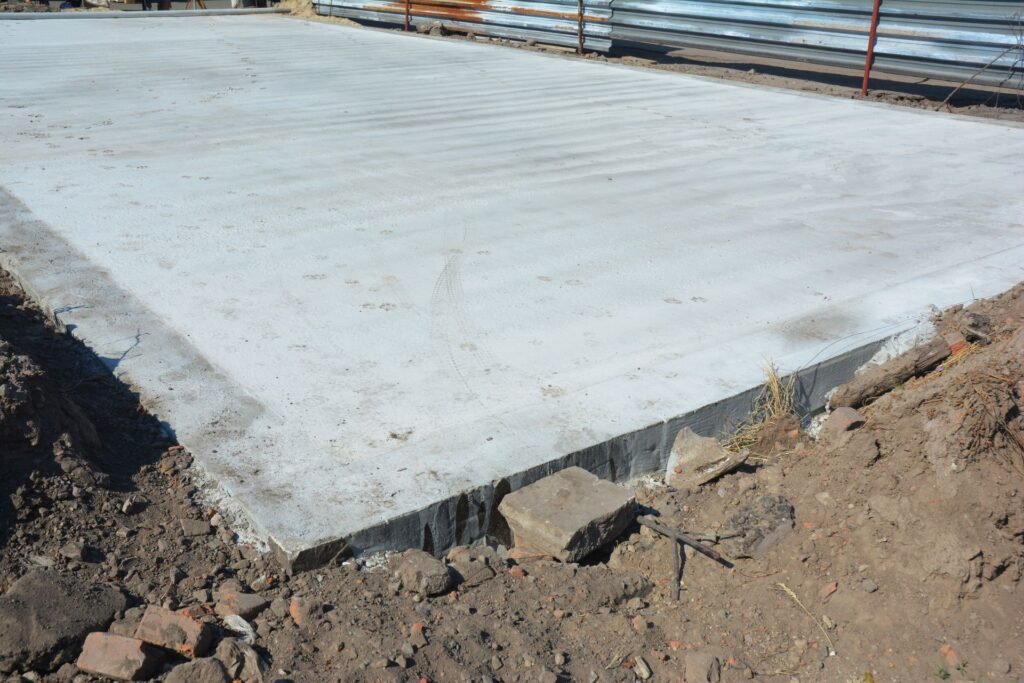
Poured-In-Place Concrete
Poured-in-place concrete involves mixing and pouring concrete directly onto the site and shaping it as needed. This method offers more design flexibility but requires skill and proper weather conditions during installation.
Benefits:
- Seamless, custom look
- Fewer gaps or joints
- Can be finished with texture or pattern
Driveways, larger patios, or areas with complex shapes. It’s a solid choice for homeowners looking for a permanent, smooth surface that can handle more weight and wear.
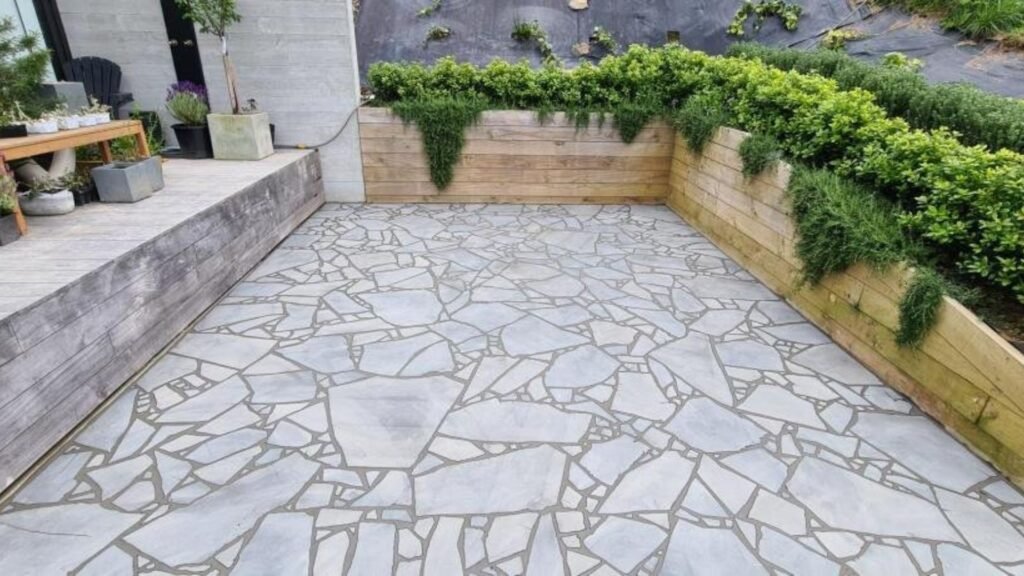
Exposed Aggregate Finishes
Exposed aggregate concrete involves revealing the decorative stones in the concrete mix by washing off the top layer. This creates a textured, non-slip surface that’s both functional and visually appealing.
Benefits:
- Strong grip underfoot
- Attractive, natural stone look
- Very durable and weather-resistant
Driveways and walkways. Its slip-resistant surface makes it ideal for sloped or wet areas, especially in regions with heavy rain.
Coloured Or Stamped Concrete Options
This type of concrete is poured on-site and then coloured or stamped with patterns to mimic brick, stone, or tile. It’s one of the most visually striking options and offers the look of premium materials at a lower cost.
Benefits:
- Decorative and stylish
- Custom finishes and patterns
- Long-lasting when sealed properly
Patios and entryways are where appearance matters most. It adds curb appeal and lets you match the outdoor space to your home’s design.
Which Type Works Best?
- Patios: Coloured or stamped concrete is ideal for its visual appeal. Precast pavers are also a good, low-maintenance option.
- Driveways: Exposed aggregate or poured-in-place concrete offers strength and grip. Avoid basic precast pavers for heavy vehicle use.
- Walkways: Precast pavers and exposed aggregate both provide durability and slip resistance.
When you match the concrete type to the space’s purpose, you get a surface that looks good, lasts longer, and suits your lifestyle. Whether you’re going for function, design, or both, there’s a concrete option made for it.
Key Factors To Consider Before Choosing Concrete For Pavers
When planning a paving project, it’s tempting to focus only on how things will look. But choosing the right concrete for pavers in New Zealand requires a closer look at your property and how the area will be used. Ignoring the basics like soil conditions or load requirements can lead to cracks, uneven surfaces, or costly repairs later on. Here’s what you need to consider before moving forward.
Soil Type And Drainage On Your Property
Start with what’s under your feet. The type of soil and its drainage capacity play a major role in how well your pavers perform over time. Clay-heavy soils hold water and shift easily, while sandy soils drain well but may lack stability. If your soil stays damp or doesn’t drain properly, it can lead to paver movement or cracking.
Solution? Invest in a compacted base layer using crushed stone and install proper drainage to direct water away from paved surfaces. This is especially relevant in many New Zealand regions where rainfall can be frequent or unpredictable.
Load-Bearing Needs (Cars Vs Foot Traffic)
Not all concrete pavers are built for the same level of pressure. Think about how the space will be used. Are you creating a walkway through your garden, or is this a driveway that will support vehicles every day?
Driveways need thicker, high-strength concrete pavers, usually 60mm or more, and a stronger sub-base to support the weight. Walkways and patios can use lighter-duty pavers and a simpler base. Understanding this difference helps you choose materials that last longer and won’t fail under pressure.
Design And Layout Preferences
Concrete pavers come in various shapes, colours, and textures. But your design choices affect more than just appearance. Large-format pavers create a modern look but need a perfectly flat base to prevent cracking. Small interlocking pavers offer better flexibility and load distribution, making them a safer choice for curved or uneven surfaces.
Think about how the pavers will flow with your home’s style, how much cutting is needed for your layout, and how the space will function day to day. Planning ahead helps you avoid design compromises during installation.
Budget
Cost is always a factor, and concrete pavers can fit a range of budgets. Precast pavers are usually more affordable than custom-poured concrete or natural stone. But don’t forget to factor in labour, base materials, drainage systems, and tools, especially if you’re hiring a contractor.
It’s better to budget slightly above your estimate to account for unexpected issues like ground preparation or weather delays. Investing in quality materials and proper installation up front can save you from bigger expenses later.
Maintenance Expectations
Every paving material comes with some level of upkeep. Concrete pavers are generally low-maintenance, but they still require occasional cleaning and resealing, especially if exposed to heavy rain, UV rays, or vehicle traffic.
If you’re looking for a long-lasting surface with minimal maintenance, choose pavers that are sealed or textured to resist stains, weeds, and water absorption. Also consider the long-term appearance, lighter pavers may show dirt, while darker ones can fade under strong sun exposure.
Choosing concrete for pavers in NZ isn’t just about picking what looks good. The right decision depends on how well the material fits your property conditions, usage needs, budget, and lifestyle. Take time to weigh these factors before you start, and you’ll end up with a paved space that performs as well as it looks.
How To Prepare The Base For Concrete Pavers
Preparing the base properly is one of the most critical steps when laying concrete pavers, especially in New Zealand, where weather conditions can change rapidly. A solid foundation ensures your pavers stay in place, resist cracking, and last for decades. Whether you’re building a patio, walkway, or driveway, skipping or rushing this stage can lead to costly repairs down the line.
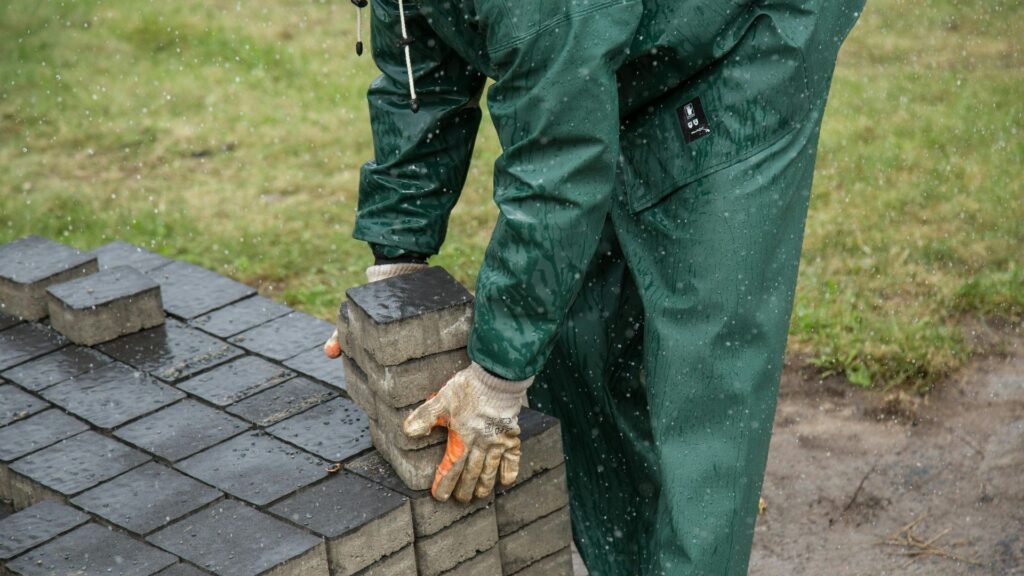
Importance Of Proper Base Preparation In NZ Climates
New Zealand’s climate includes a mix of heavy rain, frosts, and coastal salt air. These conditions can cause soil movement, erosion, and moisture retention. A poorly prepared base allows water to pool under the pavers, weakening their structure and leading to shifting or sinking over time.
In regions prone to freezing, water trapped beneath the pavers can freeze and expand, causing the surface to lift or crack. That’s why drainage and soil stability are essential when preparing your base. Investing time in this step helps protect your paver project from NZ’s unique environmental challenges.
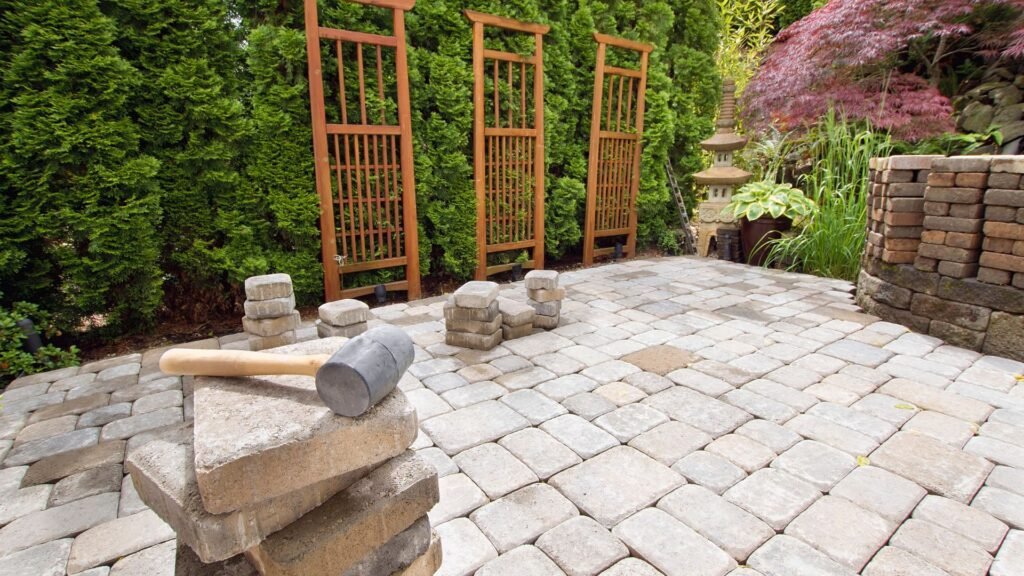
Tools And Materials Needed
Before you begin, gather all the necessary tools and materials. Having everything ready makes the process faster and more efficient.
Materials:
- Crushed stone or gravel (base course)
- Bedding sand or mortar
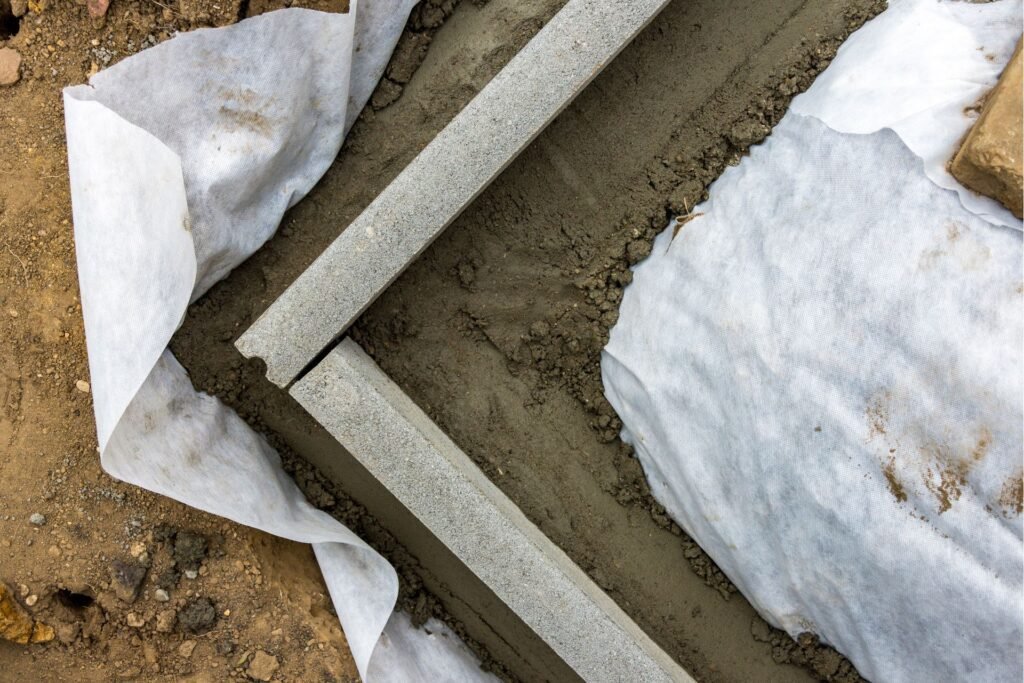
- Geotextile fabric (optional, for added stability)
- Edge restraints (plastic, concrete, or metal)
Tools:
- Shovel
- Wheelbarrow
- String line and stakes
- Rake
- Plate compactor (available for hire)
- Level
- Measuring tape
- Garden hose or spray bottle (for moistening sand)
Step-By-Step Breakdown
Mark And Excavate The Area
Outline the area using string and stakes to mark your paver layout. Add 100–150 mm to each side to account for edge restraints.
Excavate the area to a depth that allows for the base layer, bedding layer, and paver height. For most NZ applications, this means digging 150–200 mm deep. Make sure the excavation is even, with a slight slope (about 1–2%) to allow for drainage.
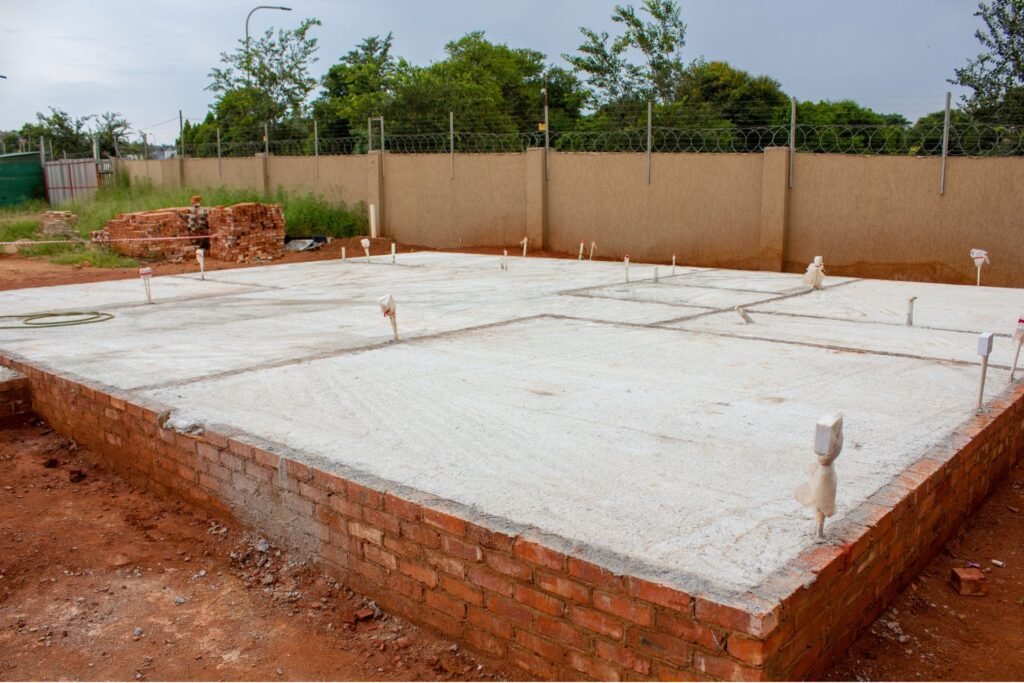
Lay Base Course (Gravel Or Crushed Stone)
Spread a layer of crushed stone or gravel about 100–150 mm thick. This layer supports the weight above and helps with water drainage.
Use a rake to spread it evenly and check for level with a string line or spirit level.
Compact Thoroughly
Use a plate compactor to compress the base material in layers. If your base is over 100 mm deep, compact it in two passes, halfway, then again at full depth.
Compacting is not optional. A loose base causes pavers to move, crack, or sink over time.
Add Bedding Sand Or Mortar Base
On top of the compacted base, add 20–30 mm of bedding sand. Use washed, sharp sand for best results.
Screed the sand smooth and level using a straight edge or timber board. If you’re working with mortar instead of sand (common for edge pavers or specific designs), make sure to apply it evenly and allow time to set before laying pavers.
Common Mistakes To Avoid
- Skipping compaction: Loose base layers can shift and ruin your layout.
- Using the wrong materials: Avoid unwashed sand or soft fill that retains moisture.
- Poor drainage planning: Flat surfaces trap water, which leads to erosion and cracking.
- Wrong depth: Not digging deep enough reduces stability, especially for driveways.
- No edge restraints: Pavers will spread over time without proper boundaries.
Preparing the base might seem like hard work, but it’s where lasting results begin. If done right, it prevents costly problems and keeps your concrete pavers level and attractive for years, rain or shine. If you’re unsure about soil type or drainage, consider getting advice from a local NZ paving contractor.
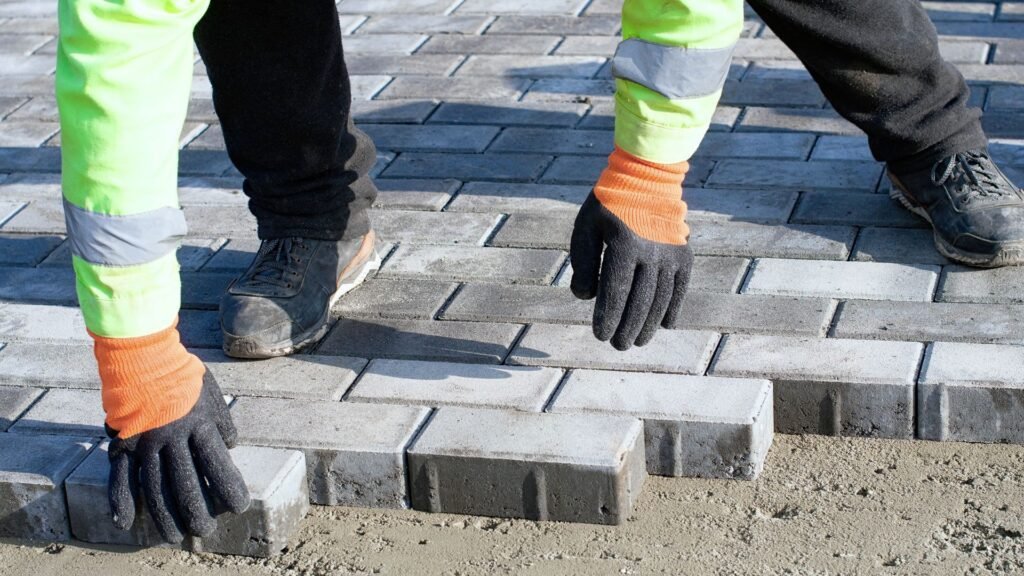
Installing Concrete Pavers: What To Expect
Installing concrete pavers is a step-by-step process that combines planning, precision, and the right tools. Whether you’re tackling a driveway, patio, or garden path, knowing what to expect during installation helps you avoid costly mistakes. This section walks you through the entire process in simple, practical terms so you’re fully prepared, whether you’re doing it yourself or hiring a contractor in New Zealand.
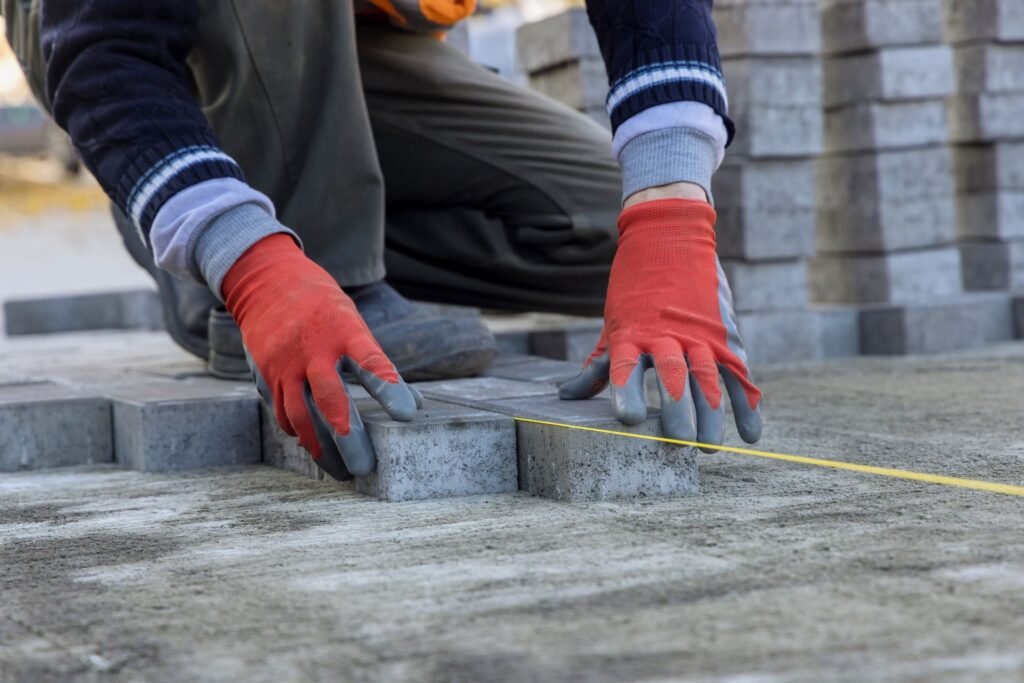
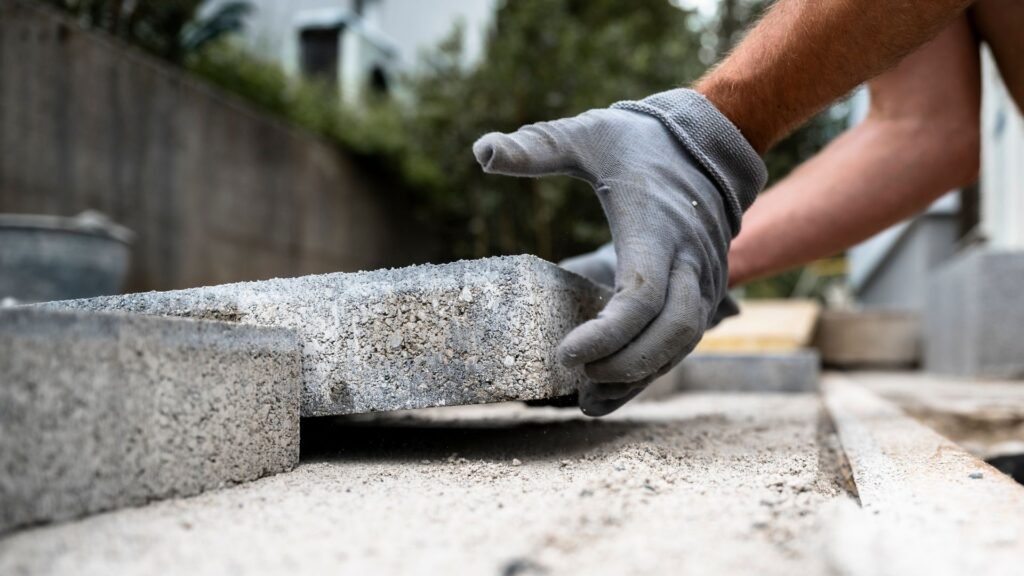
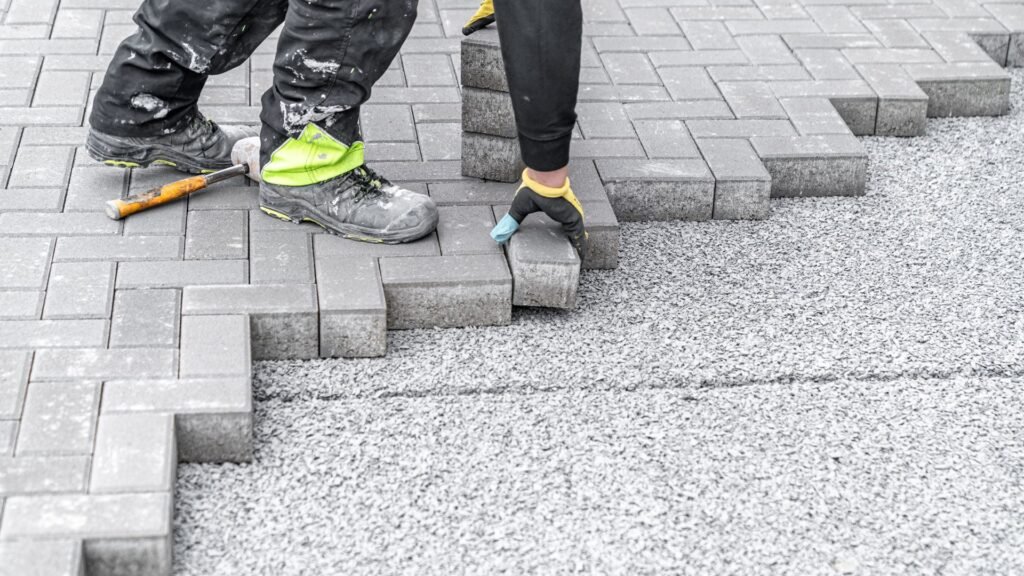
Laying The Pavers
Once your base and bedding layer are properly prepared, it’s time to lay the pavers. Start from one corner or edge and work your way across the area. Lay each paver flat and tight against the next, keeping consistent spacing between them. Take your time to follow your planned pattern. This step may seem simple, but accuracy matters, especially for larger areas. Uneven spacing or crooked rows will be noticeable once the job is complete.
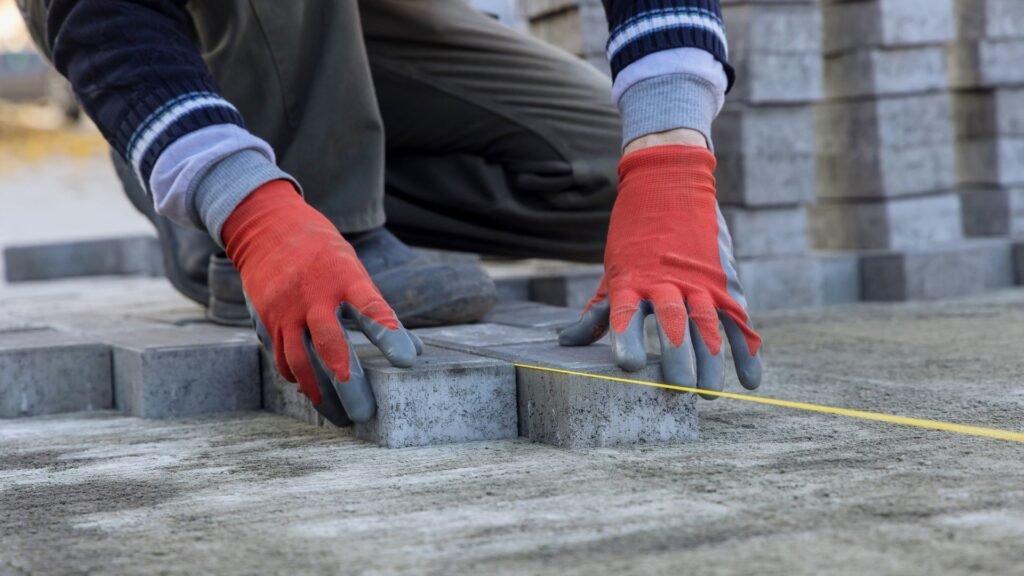
Cutting To Fit Edges
At the edges of your paved area, you’ll likely need to cut pavers to fit. This is where a masonry saw or angle grinder comes in handy. Measure twice and cut once. Accurate edge cuts create a clean, professional finish. If the area has curves or tight corners, you’ll need to make angled cuts, which takes more time but adds a polished look to the project.
Using Spacers Or Jointing Sand
To keep the spacing consistent between pavers, some DIYers use plastic spacers, which are especially helpful for uniformity. Once all the pavers are laid, sweep fine jointing sand or polymeric sand into the gaps. This sand locks the pavers in place, keeps weeds out, and helps with drainage. In New Zealand’s damp climate, choosing a sand that resists moss and weed growth is a smart move.
Compacting The Surface Again
After filling the joints, run a plate compactor over the surface one more time. This settles the pavers into the bedding layer and ensures they’re locked in tightly. It also helps the jointing sand settle deeper into the gaps. Repeat the sanding and compacting once or twice more to make sure all joints are full and secure.
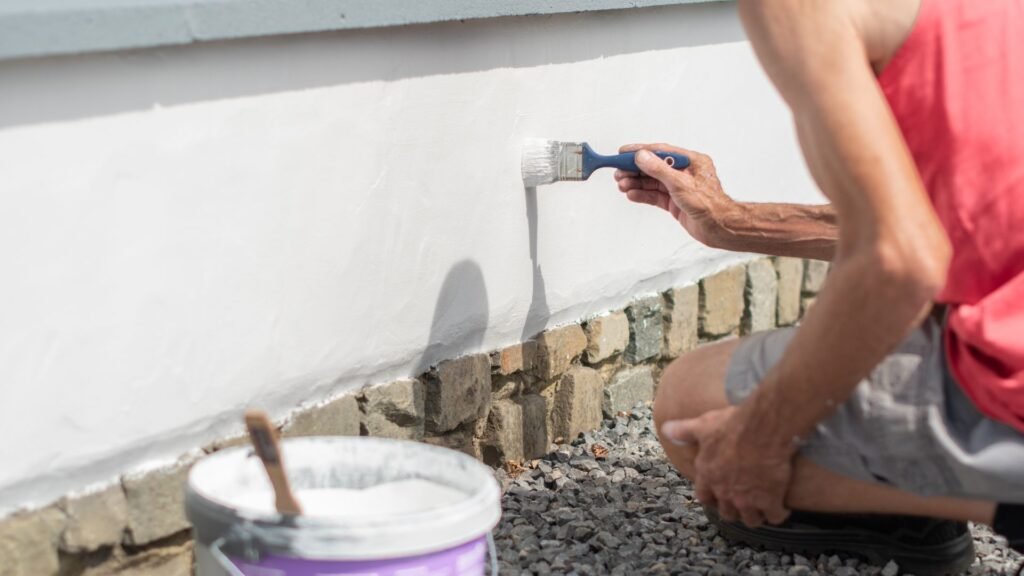
Sealing (Optional, But Helpful In NZ)
Sealing isn’t required, but it’s highly recommended, especially in New Zealand, where rain, frost, and sea air can wear down concrete over time. A good sealer protects your pavers from moisture, UV damage, stains, and moss buildup. It also enhances the colour and finish. If you want your pavers to look great for longer with less maintenance, sealing is worth considering.
Pro Tip: When To DIY Vs Hire A Pro In New Zealand
DIY is a great option for small, flat areas like garden paths or small patios. You can save on labour costs and get the satisfaction of doing it yourself. But if you’re working on a sloped surface, a large driveway, or a complex pattern, hiring a professional is a better choice. A poorly installed base or uneven surface can lead to drainage issues, cracked pavers, or trip hazards. Professionals also have the right equipment and can usually finish the job faster with fewer mistakes. In short, DIY for simple projects, hire a pro for anything technical, sloped, or high-traffic.
Cost Breakdown Of Concrete For Pavers In NZ
If you’re planning a paving project, understanding the full cost is key to avoiding budget surprises. Whether you’re going the DIY route or hiring a contractor, several factors influence the total spend. Here’s a detailed breakdown of what you can expect to pay for concrete pavers in New Zealand in 2025.
Materials: Concrete Types And Finishes
Concrete pavers come in a range of styles, shapes, and finishes. The price varies depending on whether you choose basic grey pavers, coloured options, or more decorative finishes like exposed aggregate or stamped concrete.
- Basic precast concrete pavers: $30–$50 per m²
- Coloured or textured pavers: $50–$80 per m²
- Exposed aggregate or decorative pavers: $80–$120 per m²
If you’re considering poured-in-place concrete for a more seamless look, prices are typically higher due to formwork and finishing.
- Poured concrete (standard finish): $100–$150 per m²
- Stamped or decorative poured concrete: $150–$220 per m²
Prices may also vary by region and supplier, so it’s worth comparing quotes.
Tools And Equipment (For DIY Projects)
Going the DIY route? You’ll need to factor in the cost of basic tools and possibly equipment hire. Some may already be in your garage, but others, like a compactor, may need to be rented.
- Shovel, level, rubber mallet: $100–$150 total (if buying new)
Wheelbarrow and measuring tape: $100 combined - Plate compactor hire: $80–$120 per day
- Concrete mixer hire (for poured concrete): $100–$150 per day
Tool rental shops may offer weekend deals or packages for longer projects.
Labour (If Hiring A Contractor)
Hiring professionals ensures quality results, especially for driveways or large areas. Labour costs include site preparation, laying pavers, and clean-up.
- Standard paver installation: $60–$100 per m²
- Poured concrete installation: $100–$180 per m²
Complex layouts, slopes, or tricky access can increase labour costs. Always request a full quote that includes prep and finishing.
Extra Costs: Delivery, Sealing, And Disposal
Several additional costs can affect your final total. These are often overlooked but make a difference in your budget.
- Paver or concrete delivery: $100–$250, depending on distance and volume
- Sealing (recommended for durability): $10–$20 per m²
- Disposal of old pavers or soil: $150–$300 per skip bin or load
- Weed barrier fabric or edge restraints: $2–$5 per metre
Optional but useful add-ons like sealing or edging help extend the life of your paving and reduce future maintenance.
Estimated Total Cost (2025 Rates)
To give you a ballpark figure:
- DIY with basic materials: $800–$1,500 for 10 m²
- Professional install with mid-range materials: $1,500–$3,000 for 10 m²
- High-end decorative finish with labour included: $2,500–$4,500 for 10 m²
Every paving project is different. Site conditions, design complexity, and materials all influence the final price. Always get at least two quotes and compare material quality, not just the upfront price.
Pros And Cons Of Concrete Pavers In The NZ Environment
Concrete pavers are a popular paving solution for many New Zealand homeowners, but like any material, they come with both benefits and drawbacks. Whether you’re building a driveway, patio, or garden path, it’s smart to weigh these pros and cons before deciding. Below is a detailed look at what makes concrete pavers a solid choice for the NZ environment, and what to watch out for.
Pros Of Using Concrete Pavers In NZ
- Strong And Long-Lasting
Concrete pavers are built to last. When installed properly, they can withstand heavy loads and regular foot traffic for decades. They’re an ideal option for driveways, paths, and patios that see frequent use, especially in areas with changing weather. - Low Maintenance
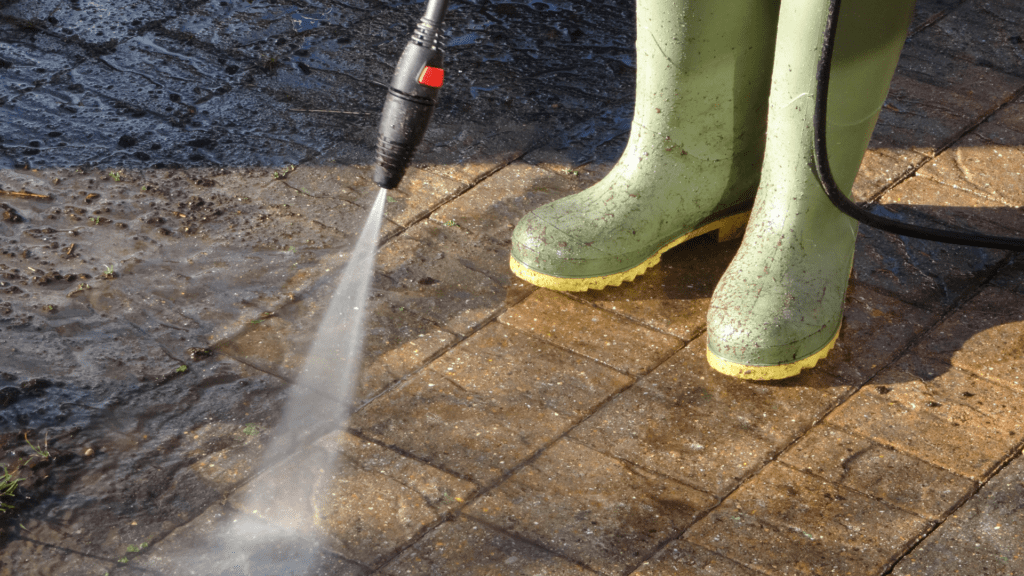
Once installed, concrete pavers require very little upkeep. Regular sweeping, occasional pressure washing, and resealing every few years will keep them in good shape. Unlike gravel or asphalt, you don’t have to worry about weeds growing through cracks or loose stones shifting around. - Budget-Friendly
Concrete pavers offer excellent value for money. Compared to natural stone or brick, they are more affordable while still offering a clean, modern look. This makes them a practical option for homeowners working within a budget but still wanting quality results. - Good For Driveways
Their strength and load-bearing capacity make concrete pavers a reliable choice for NZ driveways. Unlike poured concrete, pavers won’t crack in large slabs. Instead, the individual units allow for flexibility, which reduces the chance of long-term damage from ground movement or weight.
Cons Of Using Concrete Pavers In NZ
- Can Crack If Installed Poorly
While the pavers themselves are durable, poor installation can lead to problems. Without a compacted base and proper drainage, pavers can shift or crack over time. DIY installs that skip important prep steps often lead to costly repairs later. - May Fade Without Sealing
Concrete pavers are vulnerable to sun exposure and weathering, especially in New Zealand’s harsh UV conditions. If left unsealed, their color can fade over time, leaving your outdoor area looking dull. Applying a UV-protective sealant can help maintain their appearance. - Needs Solid Base Prep
To prevent shifting, sinking, or drainage issues, concrete pavers require a well-prepared base. This means time spent excavating, leveling, and compacting gravel or crushed stone. Skipping or rushing this step usually leads to uneven surfaces or weed growth between the joints. - Can Look Plain Without Finish
Standard concrete pavers can sometimes look too plain or industrial if you don’t choose a decorative finish. While options like exposed aggregate or stamped designs are available, they may come at a higher cost. If aesthetics matter, it’s worth exploring those upgrades.
Concrete pavers are a smart, cost-effective solution for New Zealand’s outdoor spaces, but they’re not perfect. With the right preparation and finish, they can last for decades and handle the local climate well. Just be sure to plan carefully, use quality materials, and work with experienced installers if you’re aiming for a professional result.
Ready to upgrade your outdoor space with concrete pavers? Visit us to explore expert advice, quality materials, and everything you need to get started.
FAQs: About Concrete For Pavers In NZ
What is the best type of concrete for pavers in NZ?
Precast concrete pavers are the most popular choice in New Zealand due to their strength, design variety, and ease of installation. For more custom projects, poured-in-place concrete and exposed aggregate finishes also work well.
How long do concrete pavers last in NZ?
With proper installation and maintenance, concrete pavers can last 25 to 30 years or more. Their durability makes them ideal for NZ’s varied weather conditions.
Can concrete pavers handle NZ’s wet and coastal weather?
Yes. Concrete pavers are water-resistant and can be sealed to resist salt, moisture, and frost. This makes them suitable for coastal and rainy regions across New Zealand.
Do concrete pavers need sealing?
Sealing is optional but recommended. It helps prevent stains, fading, and moss growth, especially in damp or high-traffic areas. Reapply every 2–3 years for best results.
Is it cheaper to install concrete pavers yourself?
DIY installation can save on labour costs, but only if done correctly. Hiring a professional ensures the base is well-prepared and the pavers are properly aligned and compacted.
What should I use for the base under concrete pavers?
A compacted base of crushed stone or gravel topped with bedding sand is the standard method. This helps with drainage and prevents shifting over time.
Can concrete pavers be used for driveways in NZ?
Yes. Concrete pavers are strong enough for driveways as long as the base is properly prepared to handle vehicle weight and prevent cracking.
Are concrete pavers slippery when wet?
Standard concrete pavers can be slightly slippery when wet, but textured or exposed aggregate finishes improve grip. Sealing with a non-slip coating can also help.
What design options are available with concrete pavers?
You can choose from various shapes, colours, patterns, and finishes including smooth, textured, and stamped designs. These options make it easy to match modern NZ home styles.
When is the best time to install concrete pavers in NZ?
Spring and early summer are ideal for paver installation in New Zealand. These seasons offer drier weather and allow the base and concrete to set properly.
Conclusion
Concrete remains one of the most practical and cost-effective options for pavers in New Zealand, offering long-term durability, easy maintenance, and design flexibility that suits a wide range of outdoor spaces. Whether you’re planning a driveway, patio, or walkway, it’s worth taking the time to understand the different types of concrete, prepare the base properly, and consider your local climate before getting started. Careful planning and research will help you avoid costly mistakes and get the best results for your property. Thinking about concrete pavers for your driveway or patio? Talk to a local expert or start planning your project today.
About the Author:
Mike Veail is a recognized digital marketing expert with over 6 years of experience in helping tradespeople and small businesses thrive online. A former quantity surveyor, Mike combines deep industry knowledge with hands-on expertise in SEO and Google Ads. His marketing strategies are tailored to the specific needs of the trades sector, helping businesses increase visibility and generate more leads through proven, ethical methods.
Mike has successfully partnered with numerous companies, establishing a track record of delivering measurable results. His work has been featured across various platforms that showcase his expertise in lead generation and online marketing for the trades sector.
Learn more about Mike's experience and services at https://theleadguy.online or follow him on social media: